How PVC Patches Achieve a Stunning 3D Design Effect
Imagine the great aroused look in sturdy patch type. Add the flair of polished colours, soft rubber elegance and the art of geometrics. What comes to mind? It is none other than a 3D Pvc patch.
But achieving all these features was never easy; only a valid patch maker with a strong grip on advanced CNC designing, mold making, color science and the right temperature can do this.
Let me crack these nuts into 5 steps one by one.
Understanding PVC Materials
PVC, polyvinyl chloride, is a synthetic plastic polymer widely used in household items and piping. Its lightweight nature makes it easy to handle and transport, while its resistance to moisture, chemicals, and UV rays ensures longevity. You’ll find PVC in everything from construction materials to fashion accessories.
The material can be easily moulded into different shapes, allowing creative designs to stand out. It has been through phenomenal changes over time. And coming to custom patches, 3D made is another milestone. It’s vibrant colours and smooth finish make it ideal for producing eye-catching logos.
Manufacturing Process Overview
Manufacturers follow a carefully structured process to create stunning 3D PVC patches to ensure quality and precision.
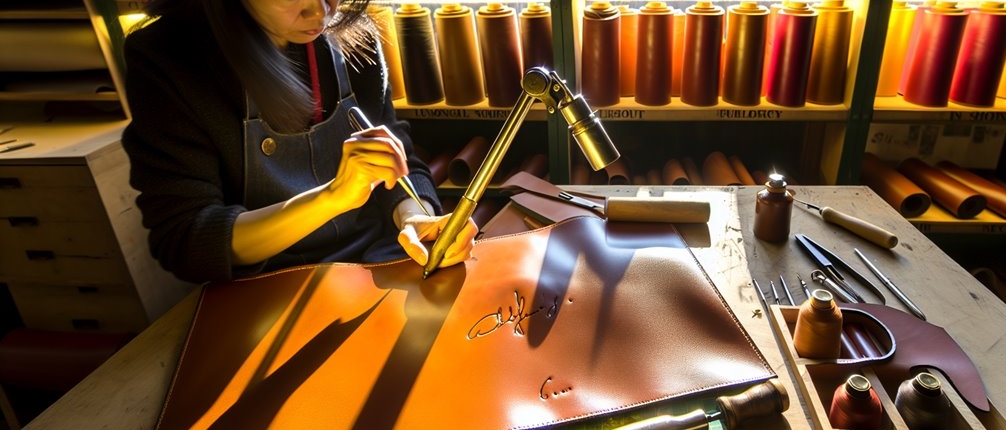
Designing: We prepare the design, often using computer-generated imagery to visualize the final product. Customers’ raw images involve scratching, colour separation, and defined 3D parts of the logo using the designated software.
Metal Work: Phase two refers to the creation of mould. A mould is a solid metal engraved for a selected logo/design using high-power CNC router machining.
Colour: This section refers to making desired colours for custom logos. For custom designs, we have to mix up variants of colour to best match the logo. Usually, they come in ‘powder’ forms and turn into liquid, adding up with DOP oil and other items.
Filling: In this process, we inject the PVC liquid colors into custom molds, allowing it to take shape while achieving those intricate 3D effects.
Finishing: After cooling, they remove the patches from the molds and inspect each piece for defects. The finishing process may include trimming and applying adhesive backing if needed.
Design Techniques for Depth
Creating depth in 3D PVC patch designs involves clever layering and color choices that draw the eye.
Start by using multiple layers of PVC to build up different elements, allowing some features to pop forward while others remain in the background.
Consider using contrasting colors to enhance depth perception; darker shades can recede, while brighter hues can leap out.
Incorporate shadows and highlights in your designs to mimic light effects, giving a more realistic appearance.
Textures can also add dimension; smooth surfaces contrast nicely with rougher areas, creating visual interest.
Advantages of 3D Effects
Why settle for flat designs when you can elevate your creations with 3D effects? When you choose 3D PVC patches, you’re not just getting a design; you’re enhancing the visual appeal of your products.
3D pvc rubber patches create depth and texture. They deliver a sense of quality and hard work that flat designs can’t match. These patches are durable and weather-resistant, too, ensuring your designs stay vibrant over time.
Applications in Customization
How can 3D PVC patches transform your customization projects? These patches add depth and texture to your designs, making them visually striking.
Custom apparel, bags, or hats with PVC patches can make your brand or personal style unique. You can easily match colours and shapes to fit your vision, and their durability ensures they’ll withstand wear and tear. They are also very popular for promotional giveaways or team uniforms. The versatility of 3D PVC patches means they can be applied to various materials, making them an excellent choice for any project.

 Custom Patches Mania
 Patches Mania
 Patches Mania
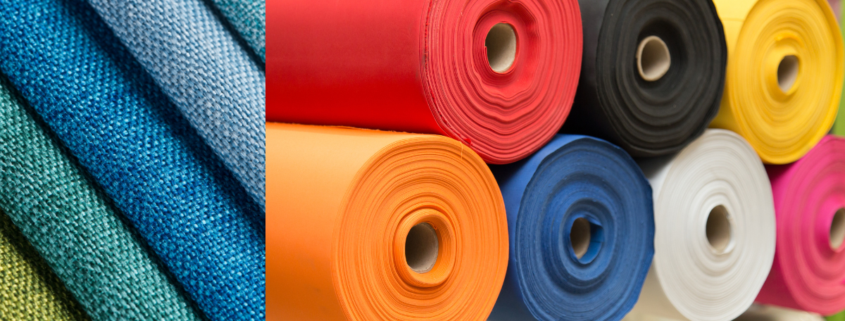
 Custom Patches Mania
 Custom Patches Mania